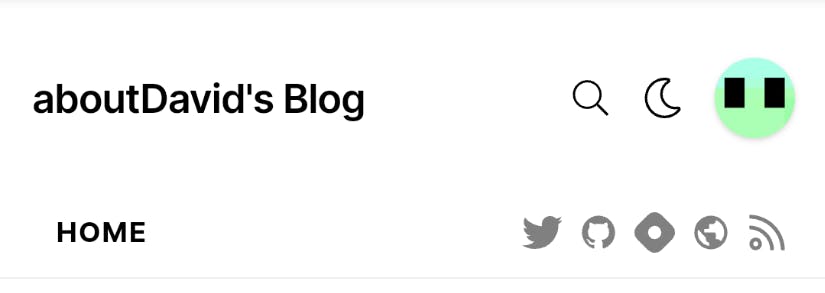
Today I decided to customize my hashnode blog using hashnode's custom CSS setting. Now if you know the basics of CSS, you can easily customize your own blog. In this article, I will show you how I customized my blog.
Note: Currently, you have to be an ambassador to use the custom CSS feature.
You can access the custom CSS feature in Dashboard -> Appearance -> Add Custom CSS
Custom header colors (All sections)
I chose a light and a dark theme color so they match the light and dark themes of hashnode.
In this case, I chose a light green for light mode and a darker green for dark mode.
This was done by using the "background-color" property.
.blog-header {
/* Light mode */
    background-color:#00FA9A;
}
.mode-dark .blog-header {
/* Dark mode */
    background-color:#66CDAA;
}
Before: Dark mode:
 Before: Light mode:

After: Dark mode

After: Light mode

Custom headers/underlines (Article section)
h2,h3,h4,h5,h6,b,u {
       background: linear-gradient(rgba(255,0,0,0) 60%,#66cdaa 40%);
}
Yay! But something isn't right:

The line is too wide, so lets fix by using display: inline-block;
h2,h3,h4,h5,h6,b,u {
    background: linear-gradient(rgba(255,0,0,0) 60%,#66cdaa 40%);
+  display: inline-block;
}

Sticky headers (Article section)
Not really that hard as position: sticky; property. I mainly added this feature because if you are reading a long article, you have to scroll all the way back up to toggle the theme/search for other articles.
.blog-header {
    position: -webkit-sticky; /* Safari support */
    position: sticky;
    top: 0;
}
.mode-dark .blog-header {
    position: -webkit-sticky; /* Safari support */
    position: sticky;
    top: 0;
}
There is no example of this because you are seeing the sticky header right now!
I've put all of the code on GitHub Gists.
Edit: I've decided not to do the custom headers until I fix a few things.
